Adding Funds to your Student Account for Printing
To be able to print at Niagara College, you need to have money associated with your Niagara College student account, which can be accessed by your student card. Every time you print a document, the money gets deducted from the funds that are currently in your account
In order to add funds to your account, you will want to use specific machines, which are called “Cash Loaders”, which are located in the Library of each campus. They allow you to add money to your student account by using either a Debit Card, Credit Card, Apple Pay, or Android Pay
***Please Note*** As of December 1st 2024, Coins or Bills will no longer be accepted for adding funds to your printing account. Please use Debit/Credit/Apple/Android Pay to add funds to your printing via the Cash Loaders in each campus library.
Adding Funds Via Debit/Credit/Apple/Android Pay
If you’re looking to add funds to your student account using a Debit or Credit Card, including Visa, MasterCard, Apple Pay, or Android Pay, please follow these steps:
1. On the display of the Cash Loader, please click on “Touch to Continue” in your preferred language
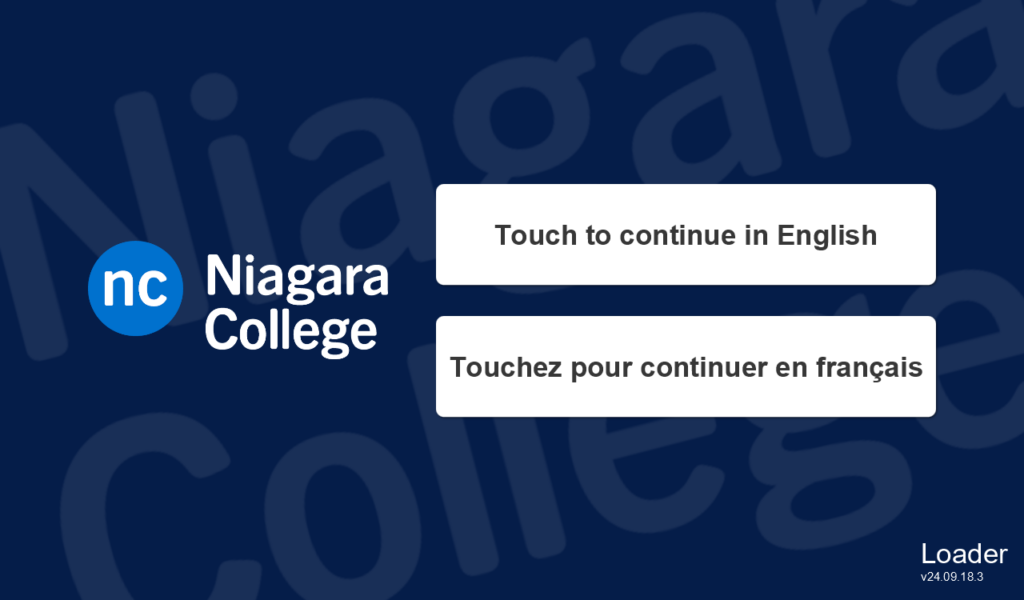
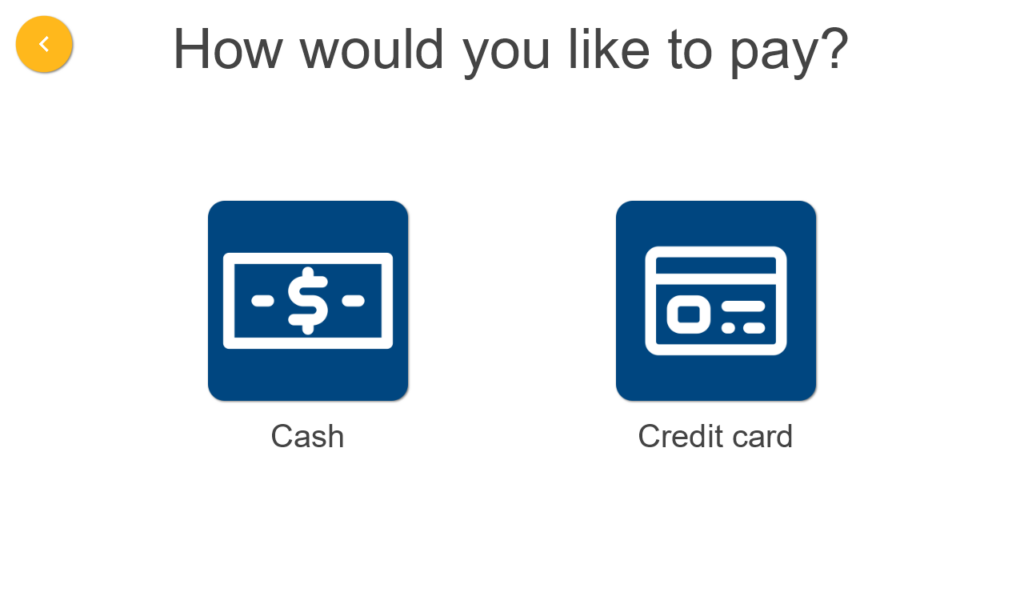
2. On the next screen, please choose “Credit Card” on the “How would you like to pay” screen prompt
3. On the next screen, please tap your student card to associate your account with the Cash Loader for this transaction

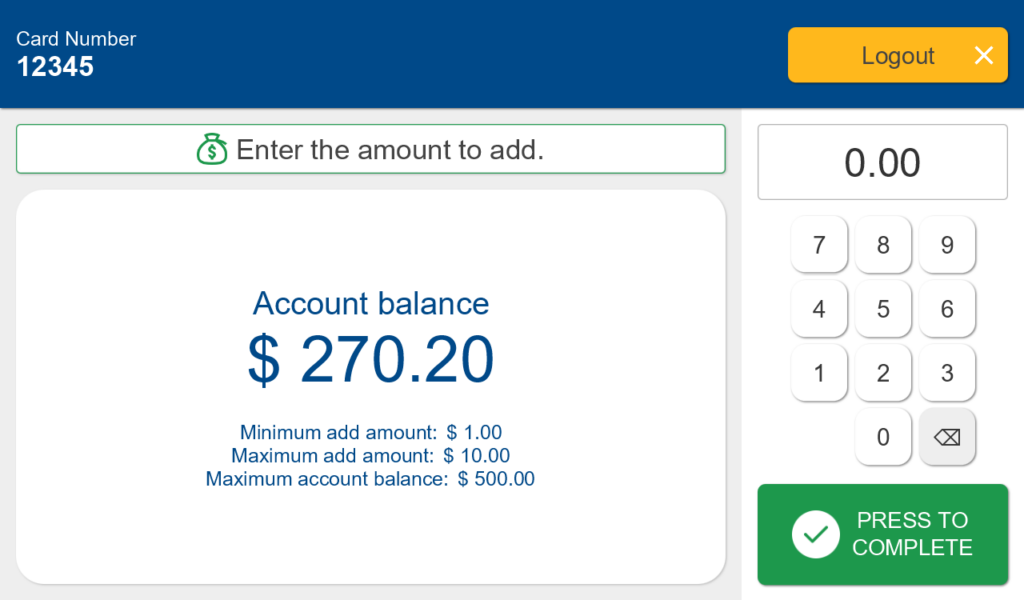
4. On the next screen, please enter the amount you would like to add to your student account and then press the green “Press To Complete” button to confirm the amount
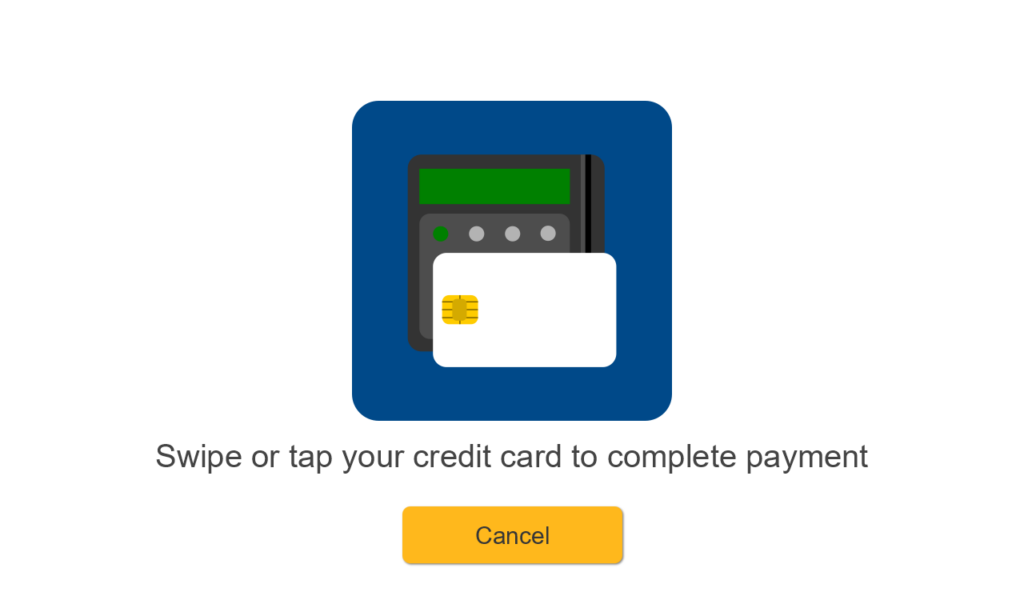
5. On the next screen, please either tap your Credit Card, Debit Card, or your phone if you’re Apple Pay or Android Pay, or you can also swipe or insert your Credit Card or Debit Card on the attached Card Reader in order to complete your payment
6. You will then get a message on the display showing your transaction has been completed and you can press “OK”
7. Congratulations! You have successfully added money to your student account using the Cash Loaders. To log-out of your account on the Cash Loaders, you will want to click “Logout” on the top-right of the screen
Adding funds through the Papercut Website
If a student is looking to add funds to their student account using the papercut website in order to print, please follow these steps:
1. Please open the link below in your preferred web browser (i.e. Google Chrome, Firefox, Microsoft Edge, etc.) and login with your Niagara College username and password.
**Please Note** The NC Username is the first part of your NC Email address before the @ sign. The password used to login will be the same password used to login to Brightspace, the Campus Wi-Fi, or a Lab computer**
Link: https://printingnc.niagaracollege.ca/
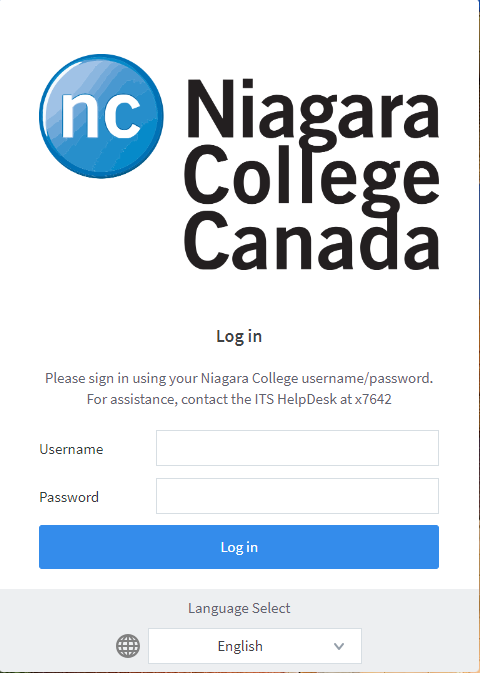
2. After they login with their Niagara College username and password, please click on “Add Credit”

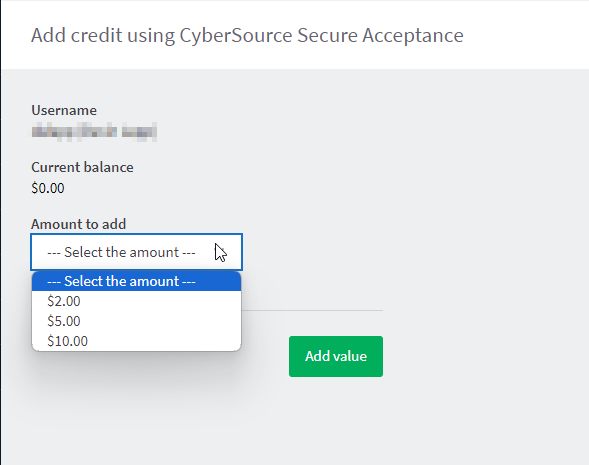
3. On the next screen, please select the dollar amount you wish want to add. You can choose either “$2.00”, “$5.00”, or “$10.00” and then press “Add Value”
4. The next screen will ask you to fill out your credit card information. It is the same information as you would enter when purchasing from Amazon or other online retailers. Once your information has been accepted by your form of payment, funds will be added to your papercut account.
Congratulations! The money has been officially added to your account and can start printing right away!

