
Importing Respondus Tests into D2L Brightspace
This document will go through the steps needed to setup and use Respondus to import tests and quizzes into D2L Brightspace for Niagara College courses.
Please note that Apps Anywhere installation is required, if you need to install Apps Anywhere please check the ITS website https://its.niagaracollege.ca/remote-access-to-labs-software/ to find instructions to install Apps Anywhere and the college VPN if required.
If you find you are having issues with installing Respondus or setting up the connection to D2L Brightspace please contact the IT Service Desk directly for assistance at 905-735-2211 x7642
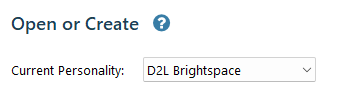
Step 1 – Download, install and start Respondus from Apps Anywhere on the NC Portal. Once started please change the ‘current personality’ from Blackboard to D2L Brightspace.
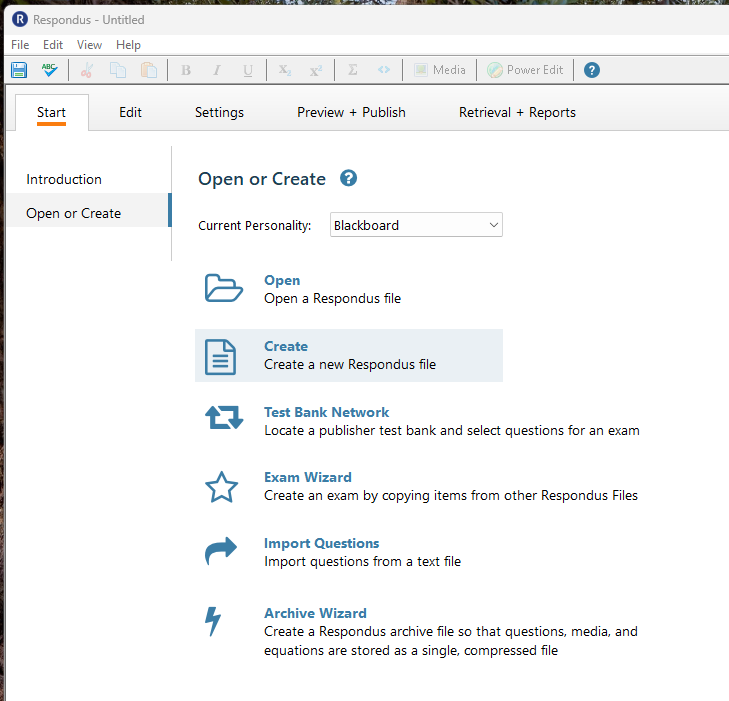
** Once changed it should show up like the picture below **
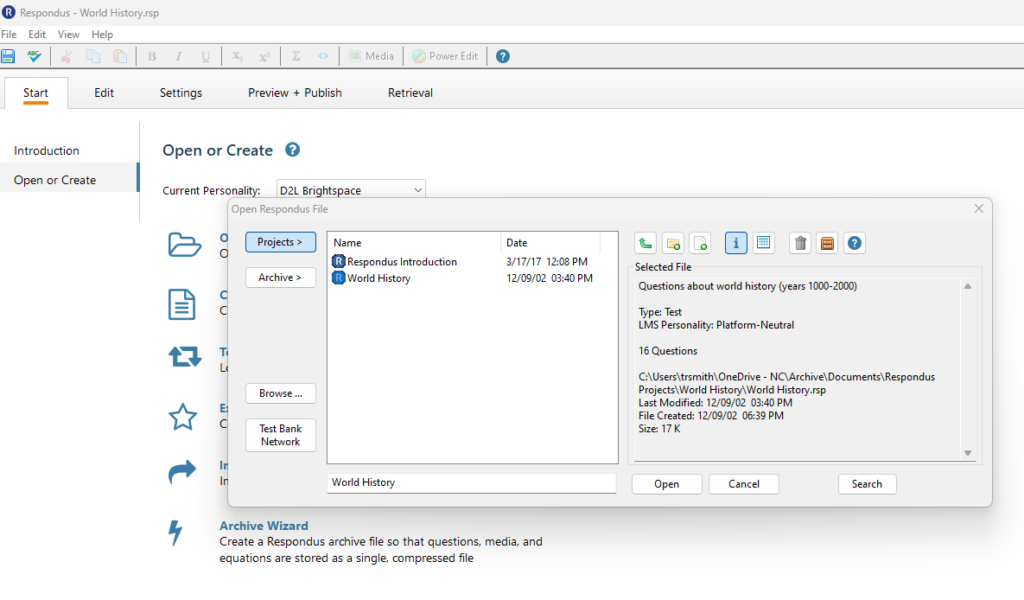
Step 2 – Select ‘Open Respondus File’ and select the file with the test/quiz questions you would like to upload for a test or quiz in D2L Brightspace.
Step 3 – Change test or quiz settings as you would normally in Respondus under ‘edit’ and ‘settings’ tab. Once finished please click on Preview + Publish.
Step 4 – Click on Publish to start the import of the test or quiz to D2L Brightspace
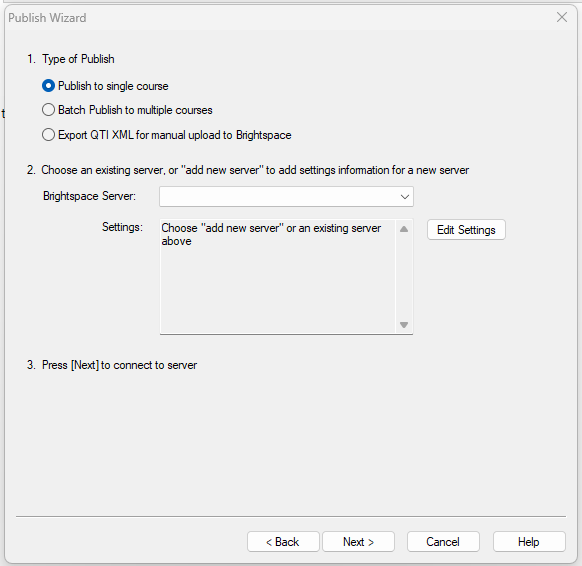
Step 5 – Select ‘Publish to a single course’, or multiple courses at once if you wish.
Step 6 – Select the pulldown selection beside ‘Brightspace Server:’ and select ‘Add New Server’, then select ‘Next’ on the bottom of the dialog box to connect to the server.
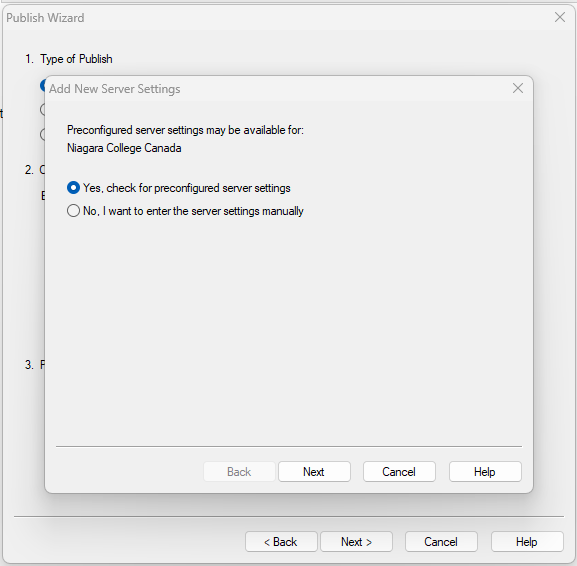
Step 7 – Select ‘Yes, check for preconfigured server settings.
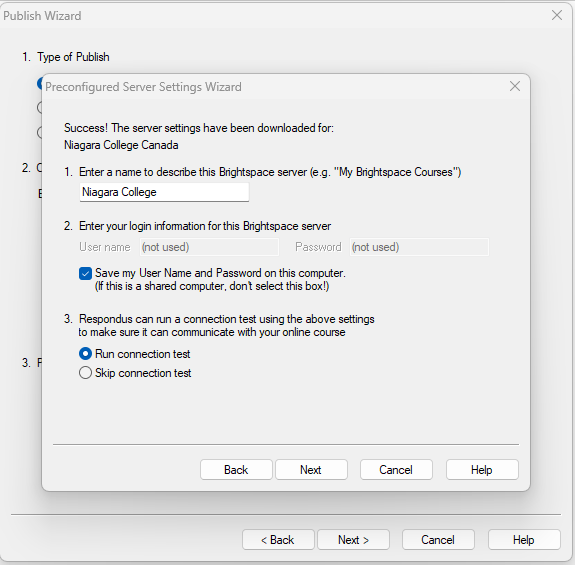
Step 8 – Once settings have been downloaded, please name this server connection (e.g. Niagara College), click the check box ‘Save my name and password on this computer.’ and then click ‘Run connection test’ and then click next.
Step 9 – The D2L Brightspace LMS requires the proper login and password to be entered and saved for future imports so it does not have to be entered each time. You will now see a pop-up indicating that you need to login, please click ‘OK’ when asked to download an update to Respondus to allow authentication with our system.

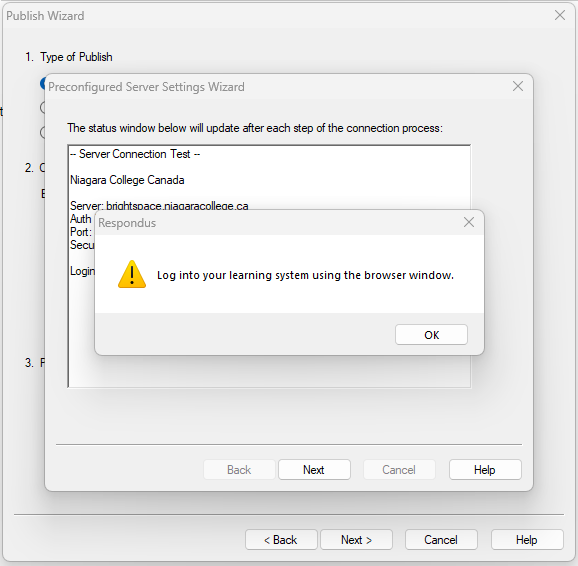
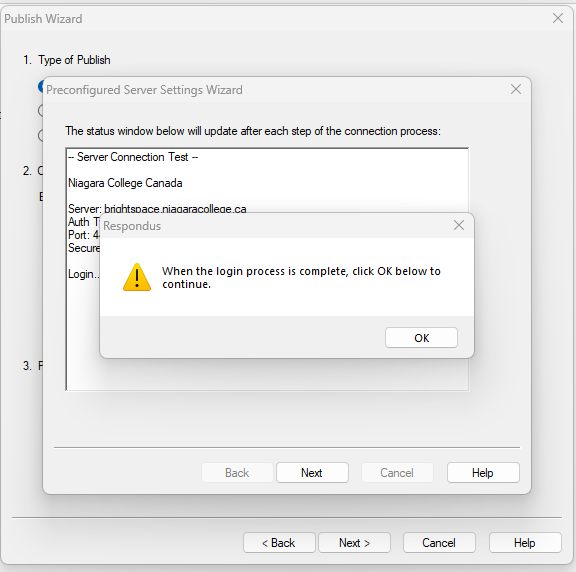
Step 10 – Click ‘OK’ when the dialog box pop up indicating ‘Log into your learning system using the browser window’.
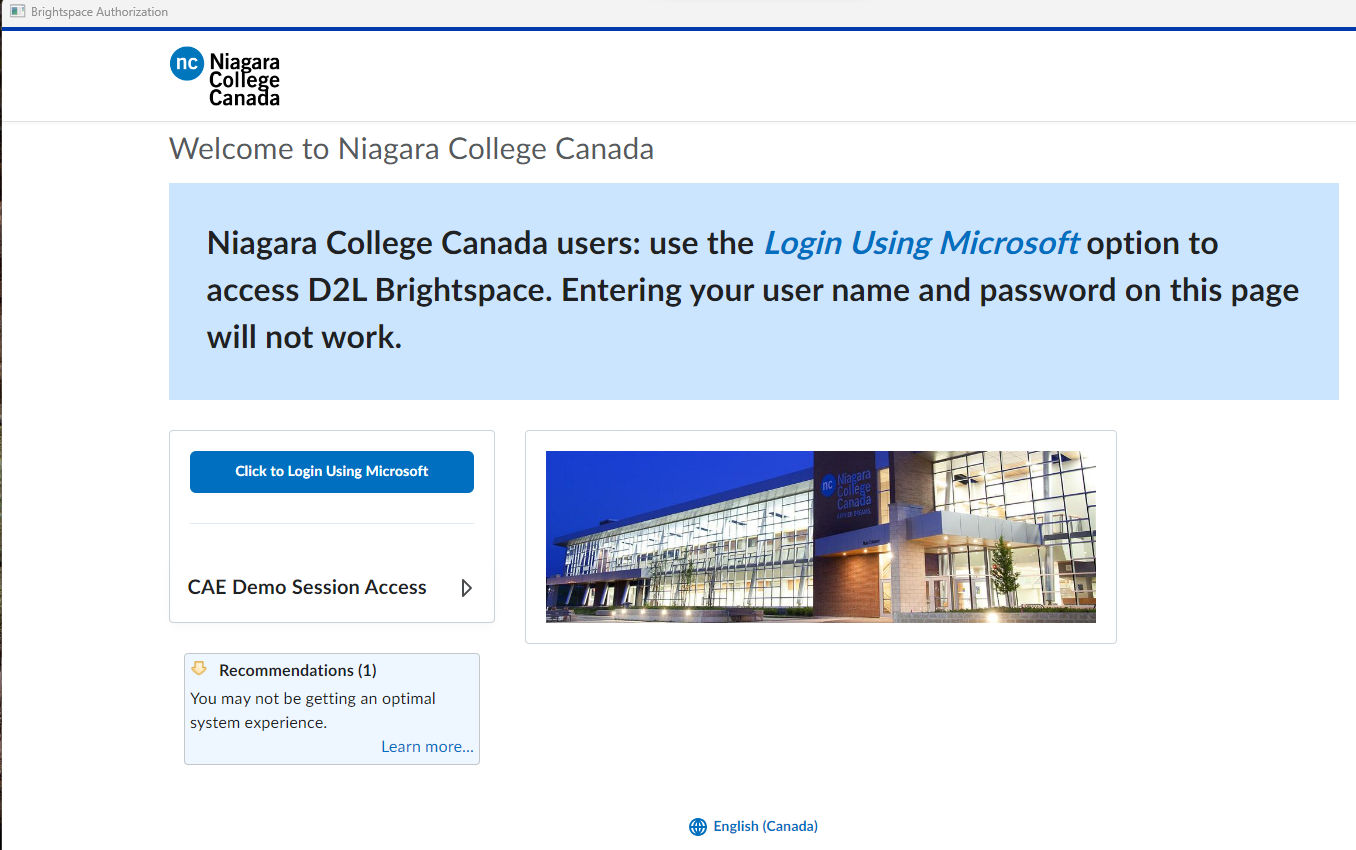
Step 11 – When the ‘Brightspace Authorization’ window pops up, please select ‘Click to login using Microsoft’ on the page to verify your Niagara College login.
Step 12 – Please select ‘Continue’ when asked if you would like to proceed by allowing Respondus to access your D2L Brightspace account. Click ‘Do not ask me again for this application to save the setting for future use.

Step 13 – Once the connection test has finished, you will see the screen below, please click ‘OK’ to continue.
Now that the connection is to D2L Brightspace is setup and the login and password saved, we can now go ahead and complete the upload of the test / quiz to D2L Brightspace.
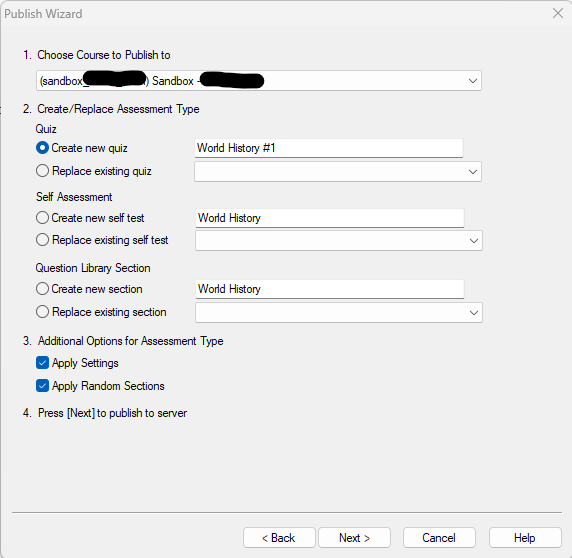
Step 14 – Publishing Wizard continues -> select the course you wish to publish the test or quiz to by selecting the dropdown and selecting the correct course. Select if the upload will be a quiz or assessment and give the upload a name (this will be the name of the quiz or assessment in D2L Brightspace). Click ‘Next’ once completed.
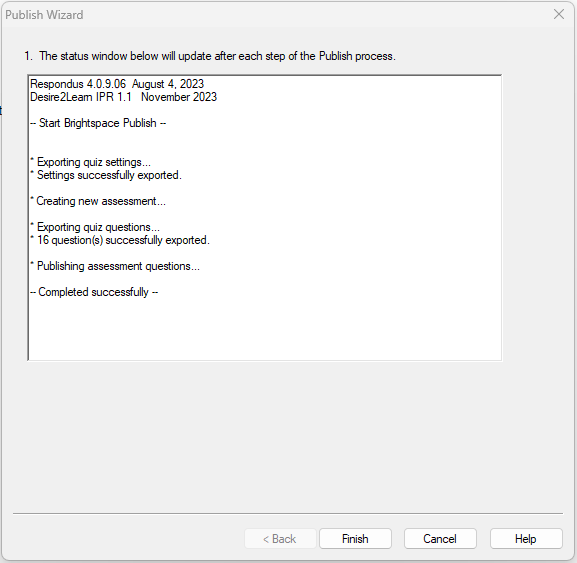
Step 15 – The status window will indicate that the information is being uploaded to D2L Brightspace and when completed you will see it say, ‘Completed successfully’. Please click finish to complete the upload and finish with Respondus.
Step 16 – Check your course in D2L Brightspace under Assessment -> Quiz to see the newly uploaded Test or Quiz.
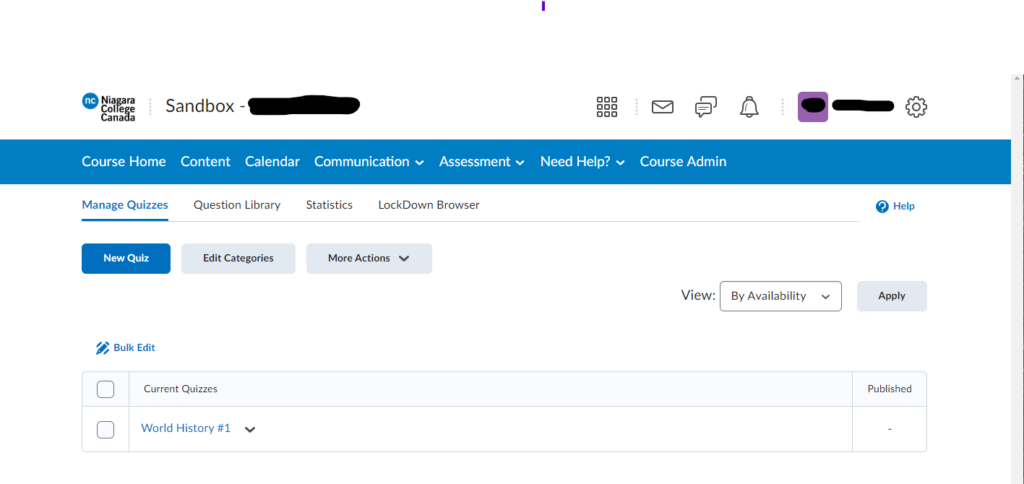
Importing of the test or quiz to D2L Brightspace has been completed.