
Papercut – Mobility Print: Printing on campus
Mobility Print delivers secure network print services to students for iOS, Android, Windows and MacOS devices.
Mobility Print is easy to set up so students can print from their own devices while on Niagara College Wi-Fi (AirNC-Secure).
Mobility Print Installation & Instructions:
Please select the type of device you are using
Android Phones
Scan QR Code below to download Papercut Mobility Print to you Android Phone.
Installation Steps:
1. Connect to AirNC-Secure Wifi
2. Install the Mobility Print app from the Google Play Store (Scan QR code above for App link)
3. Launch the “Mobility Print” app
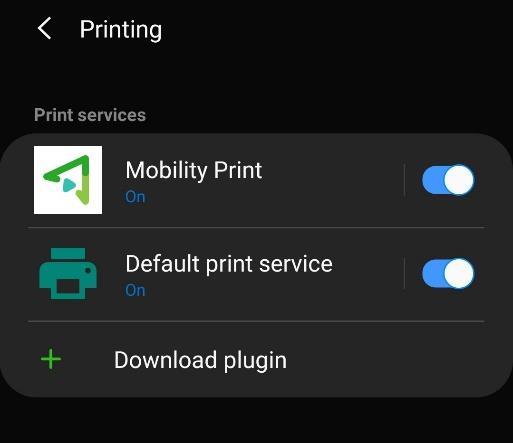
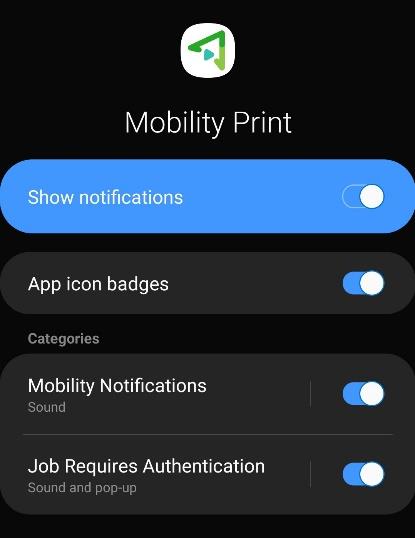
4. Tap options to turn on the “Mobility Print” service and “Notifications”
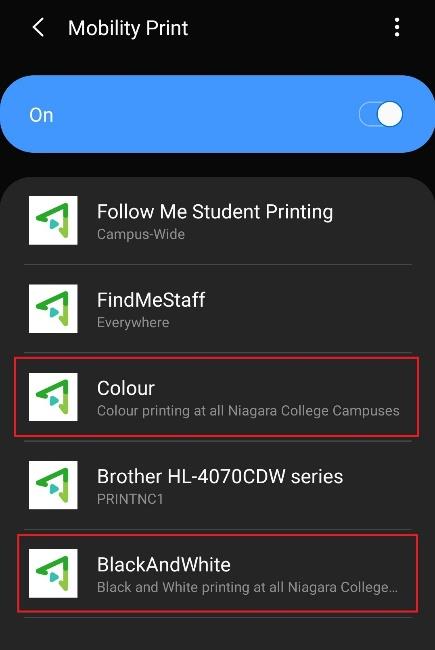
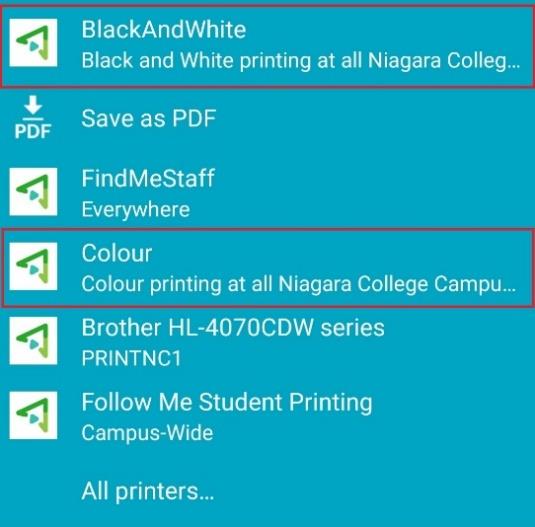
5. Ensure “BlackAndWhite” and “Colour” are listed under “Mobility Print”
6. Open the document and choose the Share/Print option
7. Choose “BlackAndWhite” or “Colour” as your printer
8. Send the print job and you will receive a notification to enter your College login & Password on your phone
9. Tap the notification on the phone (this will be found under ‘notifications), enter your login using your College login & Password (as shown below), and select ‘Sign in and Print’ (as shown below)

10. Tap your ID Card on a printer, click “Print Release”, select jobs to release, and click “Print”
iOS Phones
Installation Steps:
1. Connect to AirNC-Secure Wifi
2. Open the document you want to print and choose the Share/Print option
3. Tap “Printer” and choose “blackandwhite” or “colour” as your printer, then tap “Print”

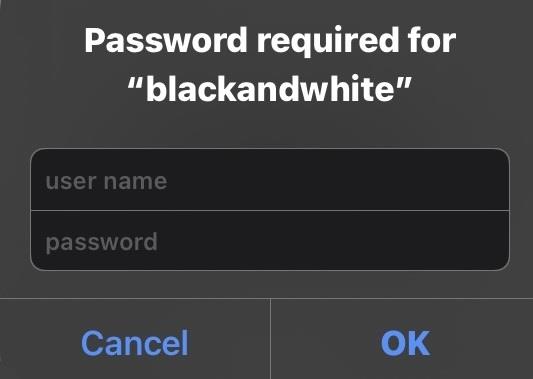
4. Login using your College login & Password (as shown below)
5. Tap your ID Card on a printer, click “Print Release”, select jobs to release, and click “Print”
MacOS (Macbooks Air & Pro)
Installation Steps:
1. Connect to AirNC-Secure Wifi
2. Navigate to System Preferences > Printers and Scanners

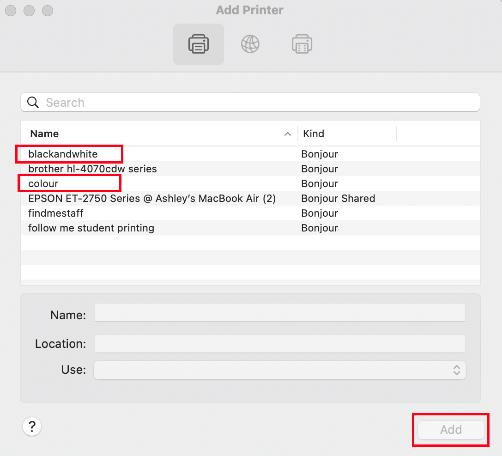
3. Click the + icon under the Printers List
4. Select either “blackandwhite” or “colour” then click Add
5. Open the document you want to print and select “File” then “Print”
6. Select “BlackAndWhite” or “Colour” as your printer
7. Set your desired print options and then select “Print”
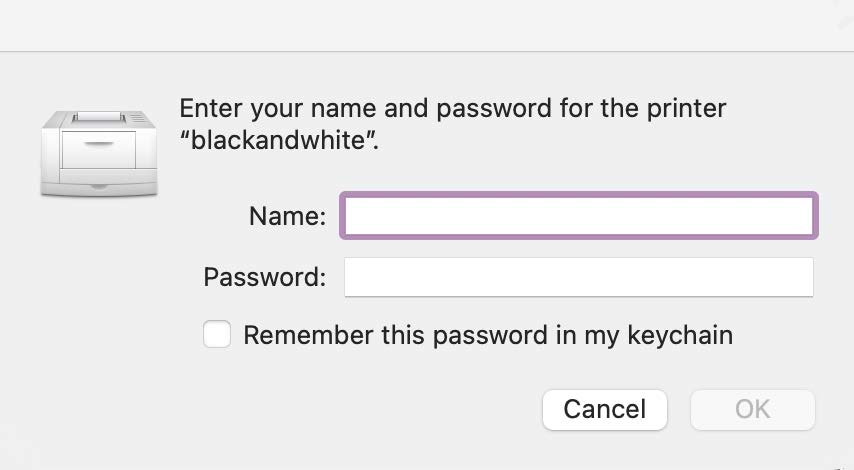
8. Login using your College login & Password (as shown below)
9. Tap your ID Card on a printer, click “Print Release”, select jobs to release, and click “Print”
Windows (Windows 10 & 11)
Installation Steps:
1. Connect to AirNC-Secure Wifi
2. Download the Mobility Print Windows app: (link below)
(https://papercut.com/products/ng/mobility-print/download/client/windows/)
3. Run the downloaded Mobility Print installer
4. Select appropriate language and click “OK” to begin installation
5. Select “I accept the agreement” then click Next
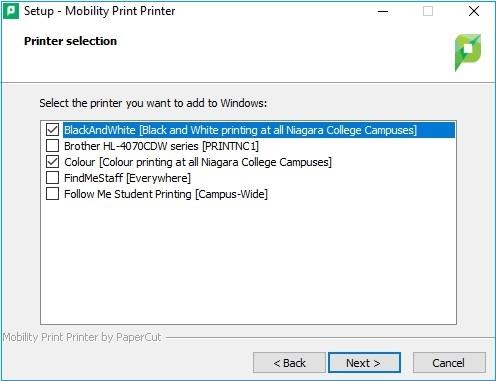
6. Select “BlackAndWhite” and “Colour” then click Next
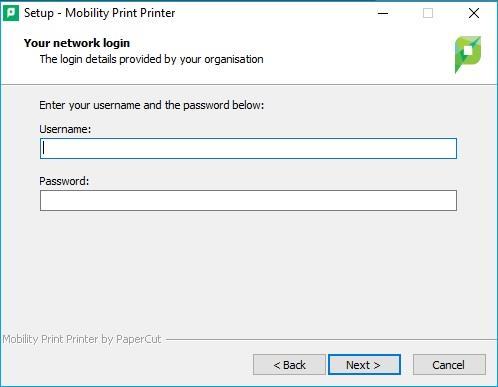
7. Login using your College login & Password (as shown below) and click Next
8. Select “Finish” to complete the installation
9. Open the document you want to print and select “File” then “Print”
10. Select “BlackAndWhite” or “Colour” as your printer
11. Set your desired print options and then select “Print”
12. Tap your ID Card on a printer, click “Print Release”, select jobs to release, and click “Print”