
RightFax Information for Niagara College
This document outlines common RightFax procedures. For more advanced or detailed information please select the RightFax Help (click top right username, Help) or our RightFax User Guide.
Main Login Page
https://faxingnc.niagaracollege.ca/WebClient/webclient.dll/?
Login using your College username and password. Prepend your username with NC\
The main landing page shows your RightFax folder structure down the left side, New Fax and Folder options across the top, and the top right corner shows account related administration options and Logout.

The Main folder shows the status of all fax activity, with icons representing received, sent, forwarded, etc. and a status column. Click the refresh icon to update the status on your screen.
![]()
New Fax ~ Sending
Click on ‘New Fax’, fill in the recipient information and click Send
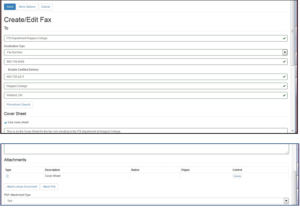
Once the fax is sent your screen will automatically refresh to the Main page. Please note that billing information is not required as this is not currently used.
![]()
New Fax ~ Sending with Attachment
Follow the procedure outlined above, then click on the Attach File button (we currently do not use Library Documents)
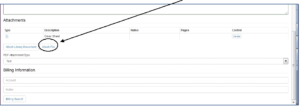

Navigate the local computer folders or network drives to find the attachment(s), more than 1 item can be attached to the fax but only 1 item at a time can be selected.
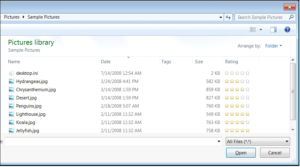
Select the file to attach, click Open, which brings you back to the New Fax Sending page, scroll down to view attachments selected. Note: a default Niagara College fax cover sheet is set as an attachment by default. Click Send to complete the process.
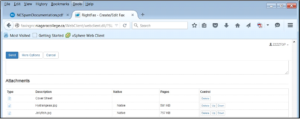
![]()
Notice the status and pages information (CS=coversheet).
Receiving Faxes
You will receive outlook email notifications for all received faxes.

![]()
The default fax format is *.TIF which uses windows photo viewer by default. Double click to open the email attachment. Alternatively, login to view and work with all incoming and outgoing faxes.
Additional / Advanced Fax Options
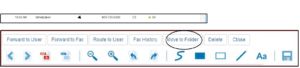
The Main folder is also where you will go to view the Fax History, Organize, Forward / Route etc. Click on any row item to bring up all fax information or Close to return to previous screen. For advanced instructions consult online help.
The icons along the top allow various viewing and editing options:
![]()
Creating a folder structure
Organize your faxes into subfolders from the Main page by selecting Folders, New Folder and fill in your information
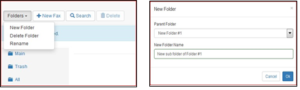
To Move a fax into a folder, from the Main page, click on the row item name to bring up advanced options, select the Move to Folder button at the top of the page:
Select the drop down arrow to see all folders, select your folder and click OK
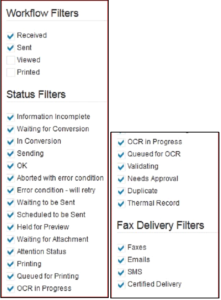
Searching for Faxes
Searching is made easier by utilizing basic and advanced filtering options:
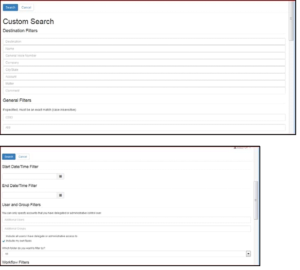
Your RightFax account settings can be personalized to your own requirements by clicking on your name in the top right corner and selecting ‘settings’.
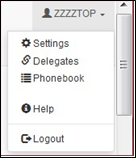
Options are defaulted to system settings, for example, Automatic Printing is disabled on a global system wide setting, but many other options are available for adjustments. For in-depth information consult the RightFax Help (click top right username, Help) or the RightFax User Guide under for the following:
|
|
|
|
|
|
|
|